Preparing for WordPress Installation
Before you can install WordPress, you need to make a few decisions.
Choosing a domain name and hosting service
To begin, you must select a domain name for your website. Your domain name is the address that visitors will use to discover your website online. Spend some time researching domain names and ensuring their availability. Once you have your domain name, you must select a hosting service. There are several hosting services accessible, so it’s critical to select one that suits your requirements. Consider things like pricing, storage space, and bandwidth. Click here the Highly recommended Domain and Hosting providers.
Downloading WordPress
Once you have your domain name and hosting service, it’s time to download WordPress. It’s free, and you can get it from the official WordPress website.
Installing WordPress
There are two ways to install WordPress: via your hosting control panel or manually.
Installing WordPress via hosting control panel
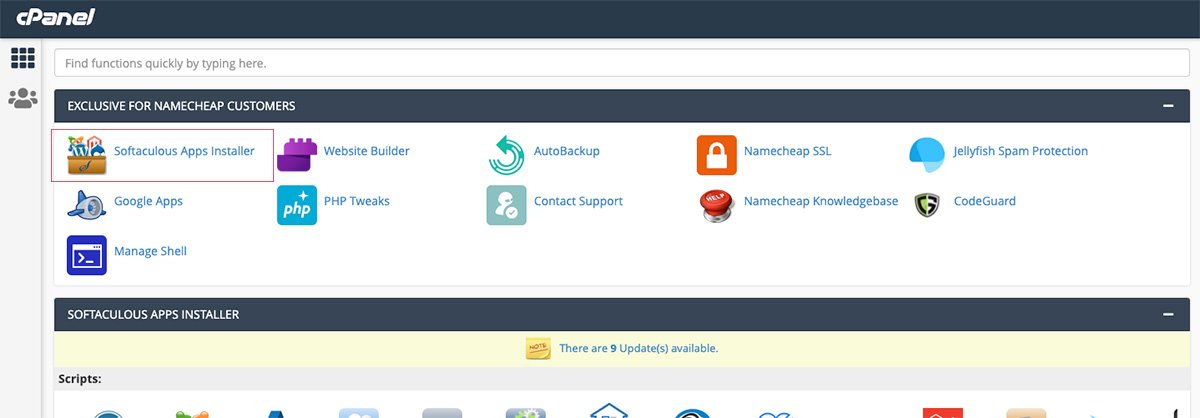
Many hosting services offer a one-click installation process for WordPress. To install WordPress this way, log in to your hosting control panel, find the WordPress installer, and follow the instructions. The installation process should only take a few minutes.
Manual installation of WordPress
If your hosting service doesn’t offer a one-click installation process, you can still install WordPress manually. Here’s how:
- Create a database for WordPress
To save your website’s data, you’ll need to construct a MySQL database. Your hosting service should include instructions on how to construct a database. Make a note of the database name, username, and password. - Upload WordPress files to your hosting account
Connect to your hosting account using an FTP client like FileZilla. Upload the unzipped WordPress files to the root directory of your website (usually public_html). Make sure to keep the file structure intact. - Run the WordPress installer
Go to your website’s URL in your web browser. You should see the WordPress installation page. Enter your database information, website title, and admin login details as directed. Click “Install WordPress” and wait for the procedure to finish.

Setting Up WordPress
Once you’ve installed WordPress, it’s time to set it up and customize it to your liking.
Accessing the WordPress dashboard
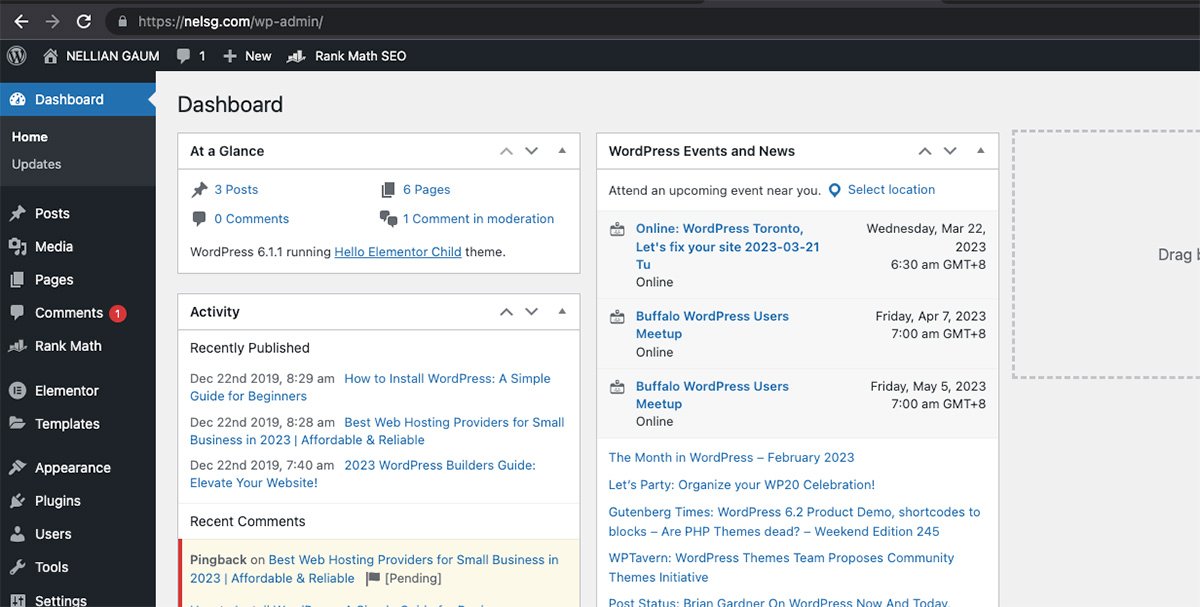
To access the WordPress dashboard, go to your website’s URL followed by “/wp-admin“. Log in with the admin username and password you set during installation. You should see the WordPress dashboard, which is the central hub for managing your website.
Choosing a WordPress theme
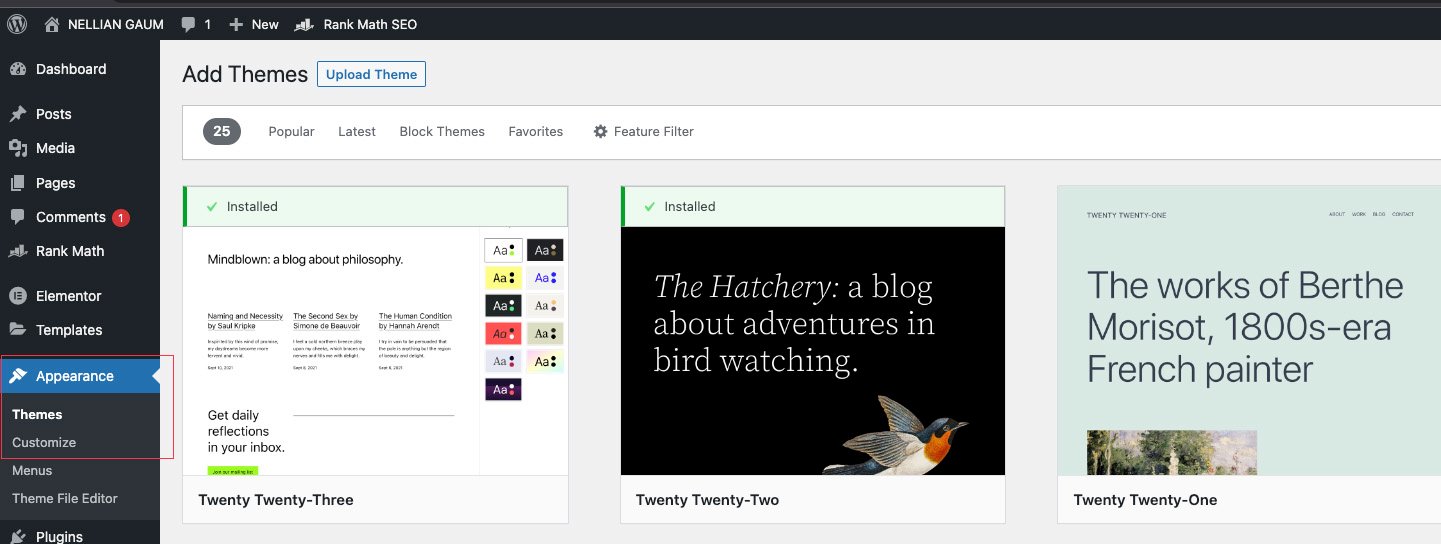
Your website’s theme controls its appearance and layout. There are many free and premium WordPress themes available. Check the Recommended Theme for 2023. To browse themes, go to Appearance > Themes in the WordPress dashboard. Choose a theme that matches your website’s style and install it. You can customize the theme’s settings in Appearance > Customize.
Installing WordPress plugins
WordPress plugins are similar to applications in that they extend the functionality of your website. For anything from SEO to social media integration, there are thousands of free and paid plugins accessible. On the WordPress dashboard, navigate to Plugins > Add New to explore plugins. Install and enable the plugins required for your website. Check the most top installed plugins.


